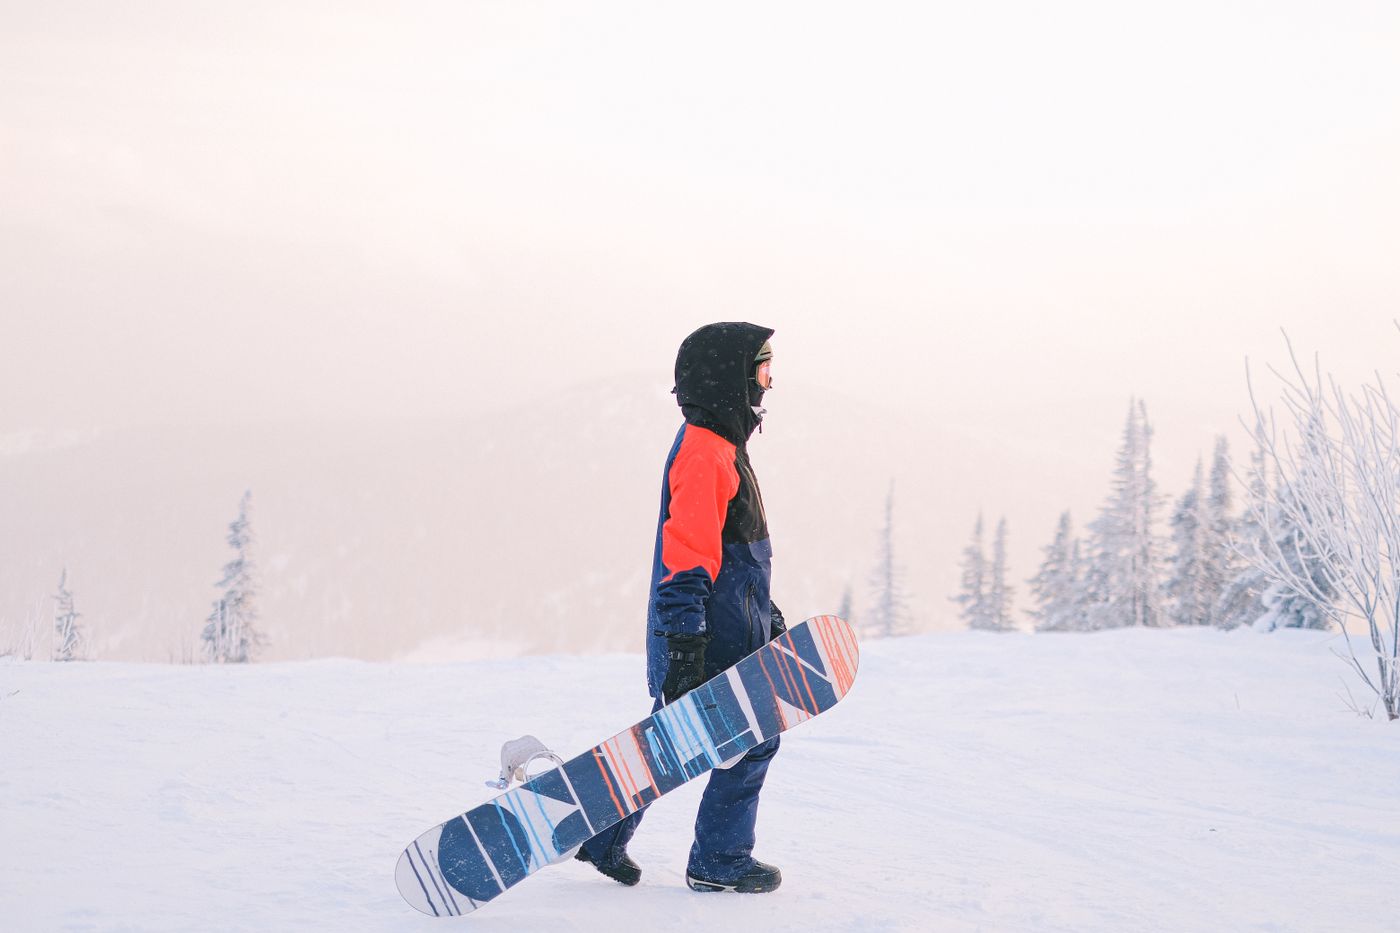
Snowboarding Beginner's Guide buyers have more options than ever. Everything you need to know to get started snowboarding — gear, resort tips, learning progression, and the terminology every beginner should know.
Snowboarding has a steeper initial learning curve than skiing. Day one is humbling — you'll fall frequently, usually backward onto your tailbone and forward onto your wrists and knees. This is completely normal and universal. The good news: most beginners can link basic turns by day 2–3 and become genuinely comfortable on the mountain within 5–7 days of riding spread across a season. The learning curve flattens quickly after the first few sessions.
Set realistic expectations: your first day is about getting comfortable with the equipment and learning to fall safely. Your second day is about controlled sliding and your first turns. By day three, most riders are starting to connect heelside and toeside turns — the fundamental building block of all snowboarding. Be patient with yourself and take a lesson. A qualified instructor compresses weeks of trial-and-error into a single day.
On your first 2–3 trips, rent everything at the resort. Rental gear is adequate for learning, and buying before you know your preferences is an expensive mistake. After you've confirmed that snowboarding clicks for you, buy your own gear based on what you've learned about your preferences. A typical beginner's own setup (board, bindings, boots) runs $500–900; full rentals run $40–70/day.
Helmet: Non-negotiable. Buy your own helmet even if you rent everything else — rentals are often ill-fitting and insufficiently padded. A MIPS-certified helmet like the Giro Range MIPS costs $180 and fits properly. Wrist guards: most beginner wrist injuries happen in the first few days. Wearing wrist guards during your first season significantly reduces injury risk. Goggles: rental goggles are consistently terrible. A quality pair like the Wildhorn Roca costs $80 and keeps vision clear all day. Moisture-wicking base layers and quality outerwear complete the mandatory list.
When you're ready to buy, prioritize in this order: (1) boots — the most comfort-critical piece of gear, and rental boots are usually the worst quality in the shop; (2) bindings — bindings pair with your boots and transfer control to the board; (3) board — a forgiving all-mountain board like the Lib Tech Skate Banana makes learning significantly easier than a stiff, expensive board.
Your stance determines which foot goes forward on the board. Regular stance = left foot forward (most common). Goofy stance = right foot forward. Your natural stance is usually determined by your dominant foot — right-footed people are typically regular, left-footed people are typically goofy. If you're unsure, try the "push test": have someone push you from behind without warning — whichever foot you instinctively step forward with is your front foot. Skateboarding and surfing backgrounds also correlate with snowboard stance.
Stance width is the distance between your feet on the board — typically set to shoulder width or slightly wider. Most rental boards are set to a reasonable default. Binding angles — the degree each foot points toward the nose of the board — are typically set to +15°/0° or +18°/+6° for beginners (slight forward angle on the front foot). Duck stance (+15°/-15°) with both feet angled outward is popular for park riding and easy switch riding.
Day one should start with a lesson. Focus on: (1) putting on and adjusting your bindings on flat ground — this takes 5 minutes, not 30; (2) skating — pushing yourself on flat terrain with your back foot unstrapped; (3) the magic carpet or bunny hill with both feet strapped in; (4) falling safely — fall backward onto your forearms (not outstretched hands) to protect wrists, and forward onto your forearms and knees. Avoid using your palms to catch falls. Wear wrist guards.
The core skill is learning to transfer pressure from your heelside edge (leaning back) to your toeside edge (leaning forward) and back. Heelside: sit back, dig your heel edge into the snow. Toeside: lean forward onto your toes, dig your toe edge in. Linking these transitions — heelside to toeside to heelside — is snowboarding. Your first successful linked turn will feel electric. This usually happens on day 2 or 3 for most beginners.
Focus on consistent turn shape — making each turn the same size and timing. Work on controlling your speed through turn shape rather than using the skid stop at the bottom of every run. Learn to read the terrain ahead and plan your turns — reactive riding (turning when you're already going too fast) is harder than proactive riding. Blue runs (intermediate) become accessible by day 4–5 for most riders who've taken a lesson.
Riding switch (your non-dominant foot forward) is the next challenge after consistent linked turns — start on easy green runs. Carving — driving the board on its edge for the full arc of a turn rather than skidding — produces the satisfying spray that marks intermediate-to-advanced riding. Jumps: small rollers and natural features on easy terrain before kicker jumps. Each milestone takes time — celebrate each one.
For beginners, a resort with a good beginner area matters more than the total vertical or number of runs. Look for: a dedicated bunny area away from fast intermediate traffic; a magic carpet (conveyor belt lift) or easy Poma lift for beginners rather than chairlifts; a reasonable lesson program. Avoid major destination resorts for your first trip — intermediate and expert traffic on the mountain is higher, and beginner areas are often crowded.
Trail difficulty is marked by symbols: green circle (easiest), blue square (intermediate), black diamond (difficult), double black diamond (expert). Start on green runs and only move to blue when you're linking turns consistently. Run maps are available at the base of the mountain and at lift terminals — study the map before each run to plan your route. Stay in your skill level until you're genuinely comfortable, not just surviving.
Loading: unstrap your back foot before getting in line, skate to the loading area, wait for the chair, sit down and immediately put the chair's safety bar down. Unloading: raise the safety bar before the unloading ramp, stand up on the ramp and glide away from the chair's path, move clear of the lift area immediately. The most common beginner fall: tangling feet with other riders when unloading. Watch the lifties (lift operators) — they're patient with beginners and will slow the chair if needed.
Regular / Goofy: Regular = left foot forward. Goofy = right foot forward.
Switch: Riding with your non-dominant foot forward — the opposite of your natural stance.
Heelside / Toeside: The two edges of your board. Heelside = the edge under your heels. Toeside = the edge under your toes.
Carve: Turning on the board's edge without skidding — the clean arc that leaves a single line in the snow.
Rocker / Camber: Board profiles. Camber = arched in the middle (traditional). Rocker = bent in the middle like a banana (beginner-friendly).
Powder: Fresh, untracked snow. "Pow" is the universal shorthand and the primary motivator for most snowboarders.
Groomer / Groomed: Machine-groomed corduroy snow — smooth, predictable, and great for learning turns.
Park: The terrain park — the area of the resort with jumps, rails, boxes, and other features for freestyle riding.
Kicker: A jump in the terrain park. Hitting a kicker too slowly means not clearing it; too fast means an unexpected distance in the air.
Sending it: Committing fully to a trick, jump, or run — often used admiringly.
Bail: To fall or abort a trick/line deliberately to avoid a worse outcome.
Gaper: A beginner or tourist who looks visibly out of place — usually identifiable by a gap between helmet and goggles. Don't be a gaper — match your helmet and goggles.
Every mountain operates under a Skier/Snowboarder Responsibility Code. Key rules: always stay in control and able to stop. Yield to people below you on the mountain — they have the right of way. Do not stop in the middle of a run or at the top of a steep section where you can't be seen from above. Look uphill before merging onto a run. Obey all posted signs and closures — closed terrain is closed for serious safety reasons, often avalanche hazard.
Wrist injuries are the most common beginner injury — wear wrist guards for your first 5–10 days. Head injuries are the most serious — wear a MIPS helmet, always. Knee injuries happen when binding angles are extreme or when riders try to stop by planting a foot — never try to stop by dragging your back foot or twisting to sit down. Fall forward or backward along the board's direction of travel. Impact shorts with hip padding reduce the worst bruises from backward falls.
When you're ready to buy your first setup, these are the articles to read: Best Snowboards covers beginner-friendly boards like the Lib Tech Skate Banana and K2 Raygun. Best Snowboard Boots covers comfortable, well-fitting boots — the most important purchase. Best Snowboard Bindings covers beginner-appropriate bindings at reasonable price points. For a deeper dive into choosing the right board, see our How to Choose a Snowboard guide.
Snowboarding Beginner's Guide buyers have more options than ever. Everything you need to know to get started snowboarding — gear, resort tips, learning progression, and the terminology every beginner should know.
The cost to get into snowboarding beginner's guide varies depending on how deep you want to go. Our guide above covers budget-friendly options for beginners alongside premium picks for more serious enthusiasts.
The essential gear for snowboarding beginner's guide is covered throughout our guide above. Focus on getting the basics right first before adding specialty items.
Yes — with the right approach and gear, snowboarding beginner's guide is accessible to beginners. Our guide above is specifically written to help newcomers get started on the right foot.